By: Hunter Gregal
A key component of any enterprise network will often be a functional webserver with PHP compatibility and a database back-end. On a Linux server, a common setup is to use Apache HTTP Server as the primary webserver.
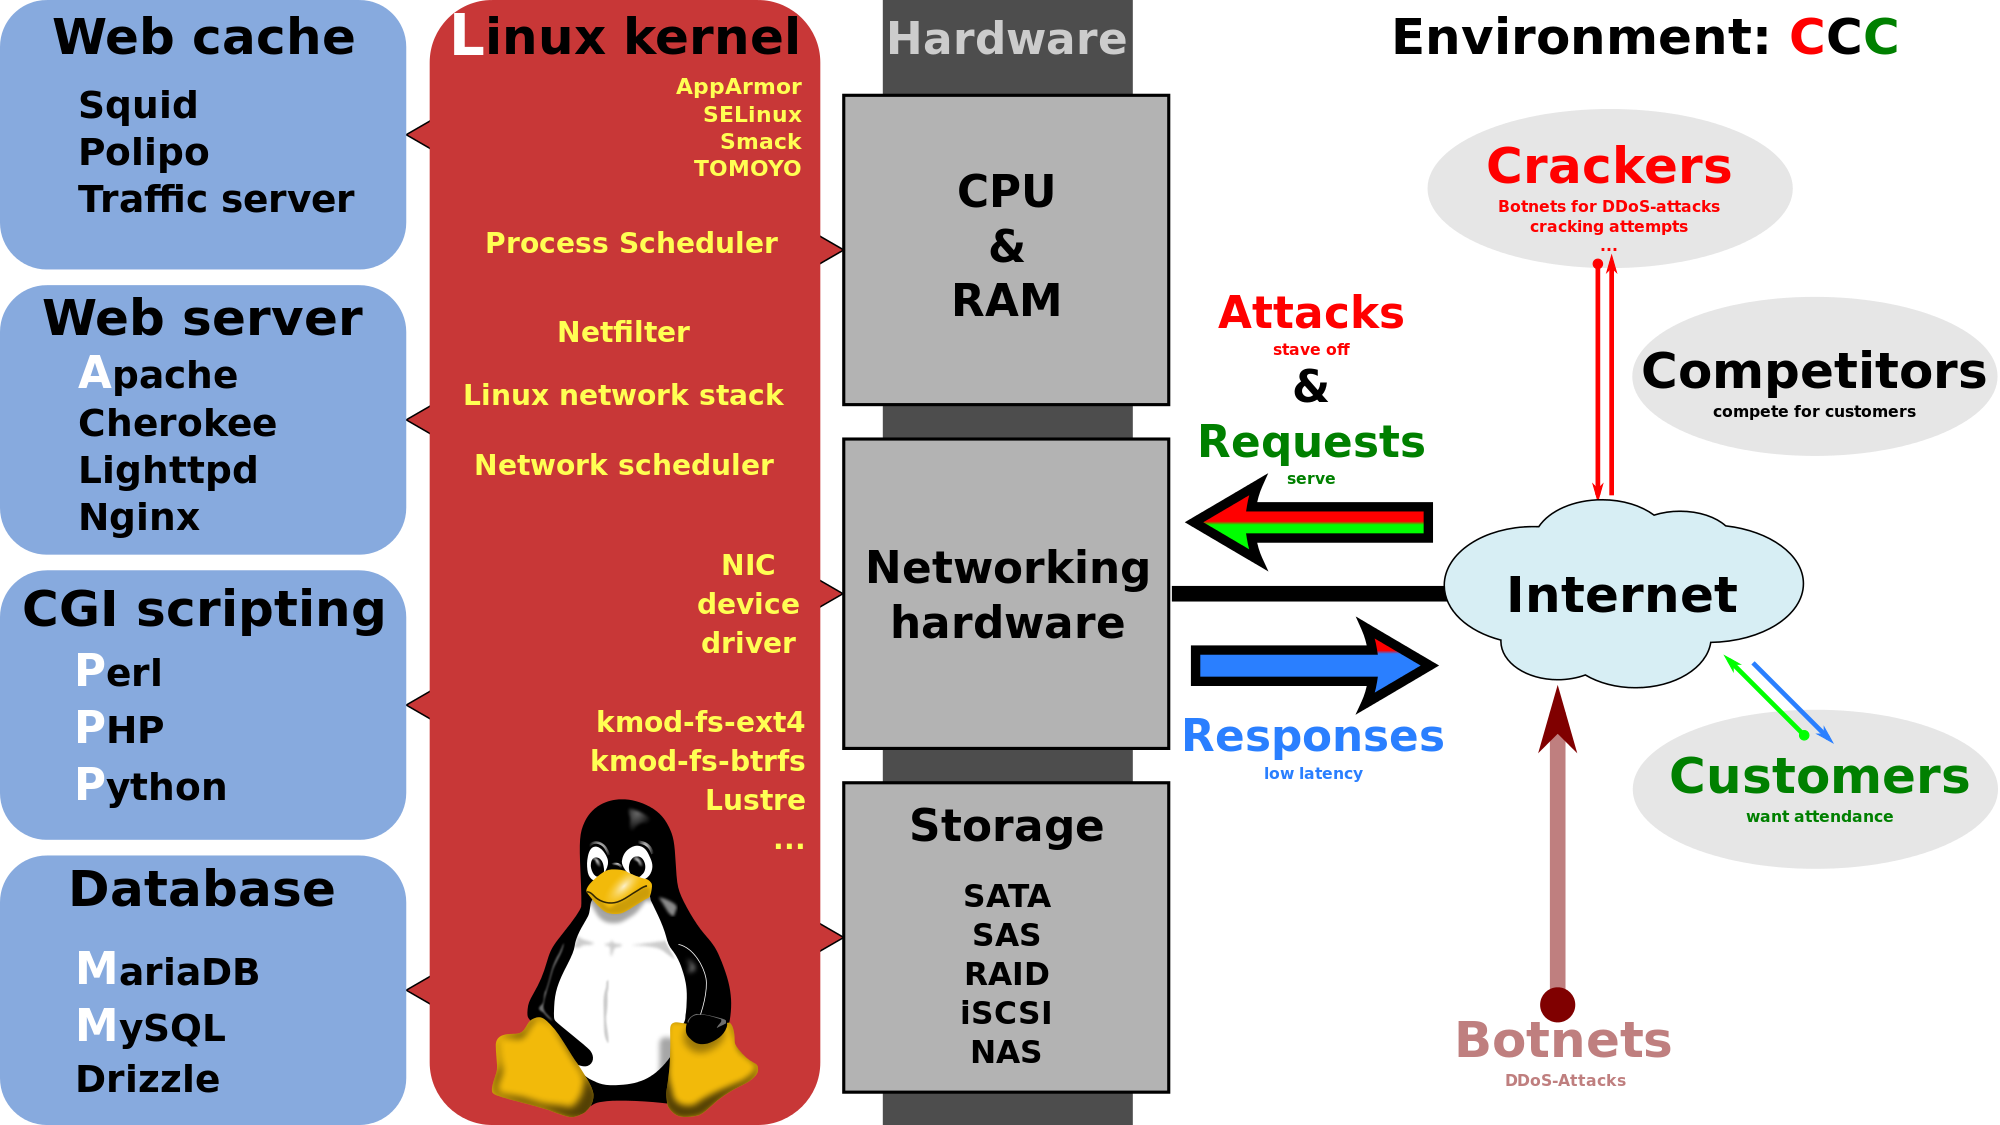
Combining the Apache HTTP Server along with PHP and MySQL functionality on a Linux machine is referred to as a LAMP stack. LAMP simply stands for Linux, Apace, MySQL, and PHP.
The following guide will streamline the process of setting up a LAMP stack on your own Ubuntu server.
Install Apache
The first step to any successful LAMP stack is to install the base webserver - Apache. Apache is a highly configurable free and open-source software that can serve dynamic HTTP and HTTPS content For this guide we will keep the installation simple, but please note that there is a lot of flexibility in customizing Apache to fit your webserver needs.
Run the following command to install Apache, documentation, and utilities:
sudo apt-get update && sudo apt-get install apache2 libapache2-mod-php5
To confirm that the Apache service installed correctly and is running, run:
sudo service apache2 status
To test the Apache webserver, navigate a web browser to your server's IP address:
http://$IP_ADDRESS (replace $IP_ADDRESS with your server's IP address)
Now that you have a webserver, you probably want to change the content that it serves to clients. By default, Apache serves all pages located in the directory:
/var/www
To configure your Apache webserver, all primary configuration files are located in the directory:
/etc/apache2
The primary configuration file is located at:
/etc/apache2/apache2.conf
Remember: Any changes to Apache's configuration settings will require a restart of the service:
sudo service apache2 restart
Install MySQL Server
MySQL is a commonly used open-source relational database management system. It is used for storing and managing data both small and large scale.
Run the following command to install MySQL Server:
sudo apt-get install mysql-server
Follow the installation prompt and set the root password.
Install PHP
The final step is to install the PHP server-side scripting language along with support for Apache and MySQL. This further enhances the content your webserver can serve and allows for the use of PHP scripts to handle dynamic content and interaction with our database backend. Additionally, it is a good idea to add basic encryption/decryption support via the mcrypt extension.
Run the following command to install PHP with Apache, MySQL, and mcrypt support:
sudo apt-get install php5 libapache2-mod-php5 php5-mysql php5-mcrypt
 Restart Apache
 sudo service apache2 restart
Congratulations! You should now have a fully functional LAMP server that is ready to serve dynamic content to clients. You may now consider to further secure and customize your Apache webserver via its configurations (Here’s some tips!), setup virtual hosts, or install a content managements system such as WordPress.